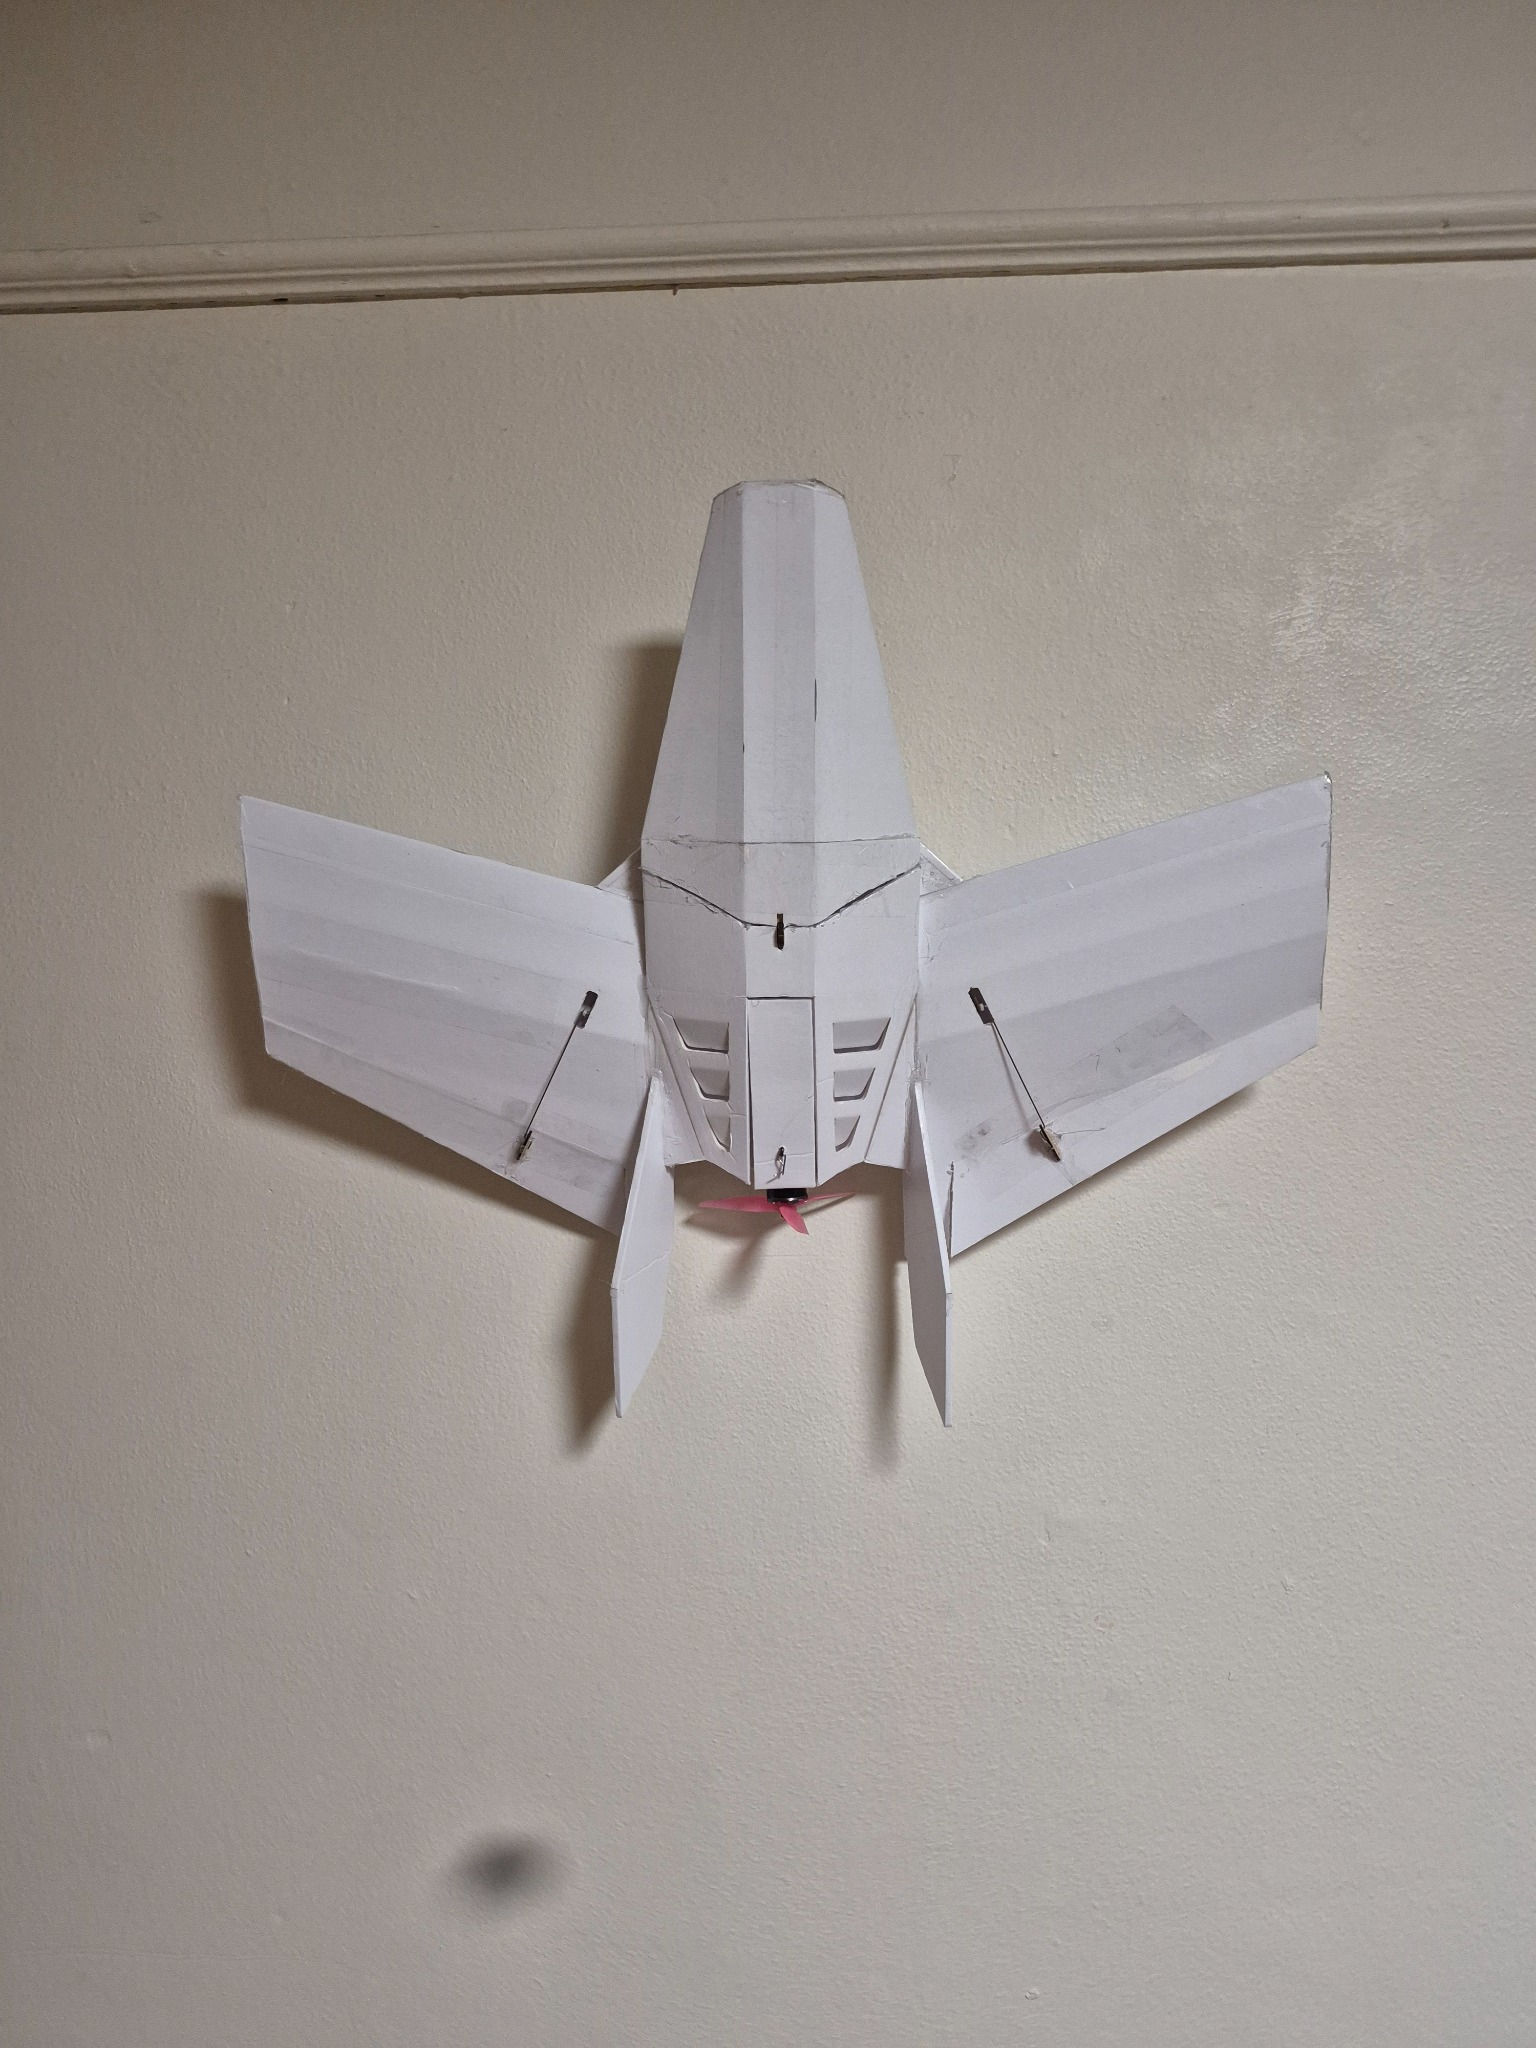
This was my third foamboard aircraft project, and I wanted to use it to improve both my building and flying skills. I was particularly interested in how different control-surface configurations affected handling and how component placement influenced an aircraft's stability. A friend and I each built an aircraft from an existing template, which also gave me the opportunity to share a hobby I've enjoyed developing over several builds.
I constructed the airframe using foamboard, hot glue, and various hobby knives and razor blades to cut and shape the components. Most of the electronics were reused from previous aircraft that had crashed, including the motor, receiver, and servos. The aircraft used a single pusher motor and two independently controlled wing surfaces. Integrating the control surfaces with the electronics was one of the more challenging parts of construction, but it was also one of my favorites because I could see how the individual components worked together.
Although I followed an existing airframe template, I made several modifications during construction. The original removable nose section was relatively weak, so I added reinforcement to improve its durability. I also had to reconsider the placement of the electronics because my components were larger than those intended for the original design. These differences became particularly important when I began investigating the aircraft's center of gravity.
For the maiden flight, my goal was straightforward: hand-launch the aircraft, complete a circuit at approximately 100 feet above ground level, and belly-land on the grass with the aircraft still in flying condition. The initial launch was unstable, but I recovered control and completed the circuit. Coordinating turns was more difficult than I expected with the limited control-surface arrangement, and the landing was rougher than planned because of the uneven ground.
The second flight revealed more significant handling problems. After another unstable launch, the aircraft climbed, stalled, and entered a nose-first descent. Fortunately, the aircraft was recoverable, allowing me to continue testing. I conducted three additional balance-related flight tests to better understand what was causing the instability.
The biggest challenge throughout the project was finding a suitable center-of-gravity position. My original battery placement put considerable mass relatively high in the fuselage, and the aircraft was sensitive to control inputs. I experimented with different battery positions and performed additional balance checks, including suspending the aircraft near its center of gravity using a small rope. Eventually, I switched to a smaller battery and modified the fuselage so the battery could sit lower.
Alongside the battery adjustments, I reduced the control sensitivity to make the aircraft less prone to overcorrection while maintaining responsive handling. I also modified portions of the nose and wing airfoil profile to improve its low-speed flight characteristics. Together, these changes made a noticeable difference. The aircraft became significantly more stable, easier to control, and required fewer constant corrections during flight.
Because the aircraft used a receiver without a flight stabilization computer, I had to rely entirely on manual control. This made the project especially useful for improving my piloting skills and understanding how changes in component placement affect aircraft handling. I also learned how important consistent battery positioning is when maintaining trim between flights.
After the modifications, I was able to fly the aircraft over three days. Eventually, I let some children try it, and the resulting damage compromised the internal structure enough that I no longer considered the aircraft safe to fly. Although that brought the aircraft's flying life to an end, the project was successful in achieving my original goal of improving my construction skills, flight control, and understanding of aircraft stability.
The experience reinforced the value of iterative engineering: build, test, identify problems, make adjustments, and evaluate the results. What began as a personal hobby project became a practical lesson in how even small changes to an aircraft's configuration can make a significant difference in flight.
TECHNICAL DETAILS
Aircraft specifications
| Wingspan | 26.5 in (673 mm) |
|---|---|
| Length | 23 in (584 mm) |
| Empty mass | 324 g |
| Ready-to-fly mass | ~500 g |
| Material | Foamboard and hot glue |
| Motor | FT Radial 2206 2500Kv |
| Propeller | 5 in |
| ESC | FT 25A (XT60 / 3.5 mm bullet connectors) |
| Battery | 4S LiPo |
| Servos | 2 × FT9G analog |
| Transmitter | RadioMaster Boxer |
| Receiver | 6-channel RadioMaster |
| Control | Two independently actuated wing surfaces |